
Para hacer esta pulsera lo único que necesitamos es hilo (de coser, o lana, o cuerdecitas finas...), y cuentas de bisutería que se tengan por casa ^^ (por ejemplo de algún collar que se te haya roto).
For this knotted bracelet we only need thread, (or wool or thin rope) and a few beads. Anything you have at home is fine ^^
1) Yo tenía hilo de coser, por lo que para conseguir una cuerda algo más ancha junté 3 trozos. Para una pulsera el largo del hilo a cortar debe estar cerca del metro y medio.
Doblamos esas tiras de metro y medio por la mitad y anudamos.
At home I had sewing thread, but it was too thin, so I had to put togeteher 3 pieces for every colour. For a bracelet the lenght of thread should be about 1,5 metres.
Fold it in half and knot them all together.


2) Enganchamos la pulsera en algún sitio para poder trabajar tranquilamente y ordenamos los hilos simétricamente.
Hang the bracelet anywhere and order the threads symetrically.

Comenzamos con el exterior izquierdo haciendo 2 nudos simples sobre la cuerda que está a su derecha y luego sobre la siguiente, así hasta llegar al centro.
Luego cogemos el hilo exterior derecho (del mismo color), y hacemos dos nudos simples reversos hacia la izquierda en cada cuerda hasta que nos encontremos con el otro hilo de igual color y hacemos lo mismo, 2 nudos simples con los 2 hilos del mismo color.
We will start with the thread on the left. We have to make 2 simple knots over the next thread on the right, and continue to the right until we reach the middle point.
Then we will take the one on the right (same colour), and make two reverse knots to the left. Once both same coloured threads are in the center we have to knot themwith the same system.


Con lo que tenemos nuestra primera línea completa.
Now our first row is done.

3) Continuamos anudando las filas por turnos hasta que ya tengamos un tercio de lo que debe ser el largo de la pulsera. Un vez alcanzado procedemos a realizar una X.
We will go on the same way until we reach a third part of the lenght of the bracelet. Once we have reached this point we will knot the bracelet to make an X.


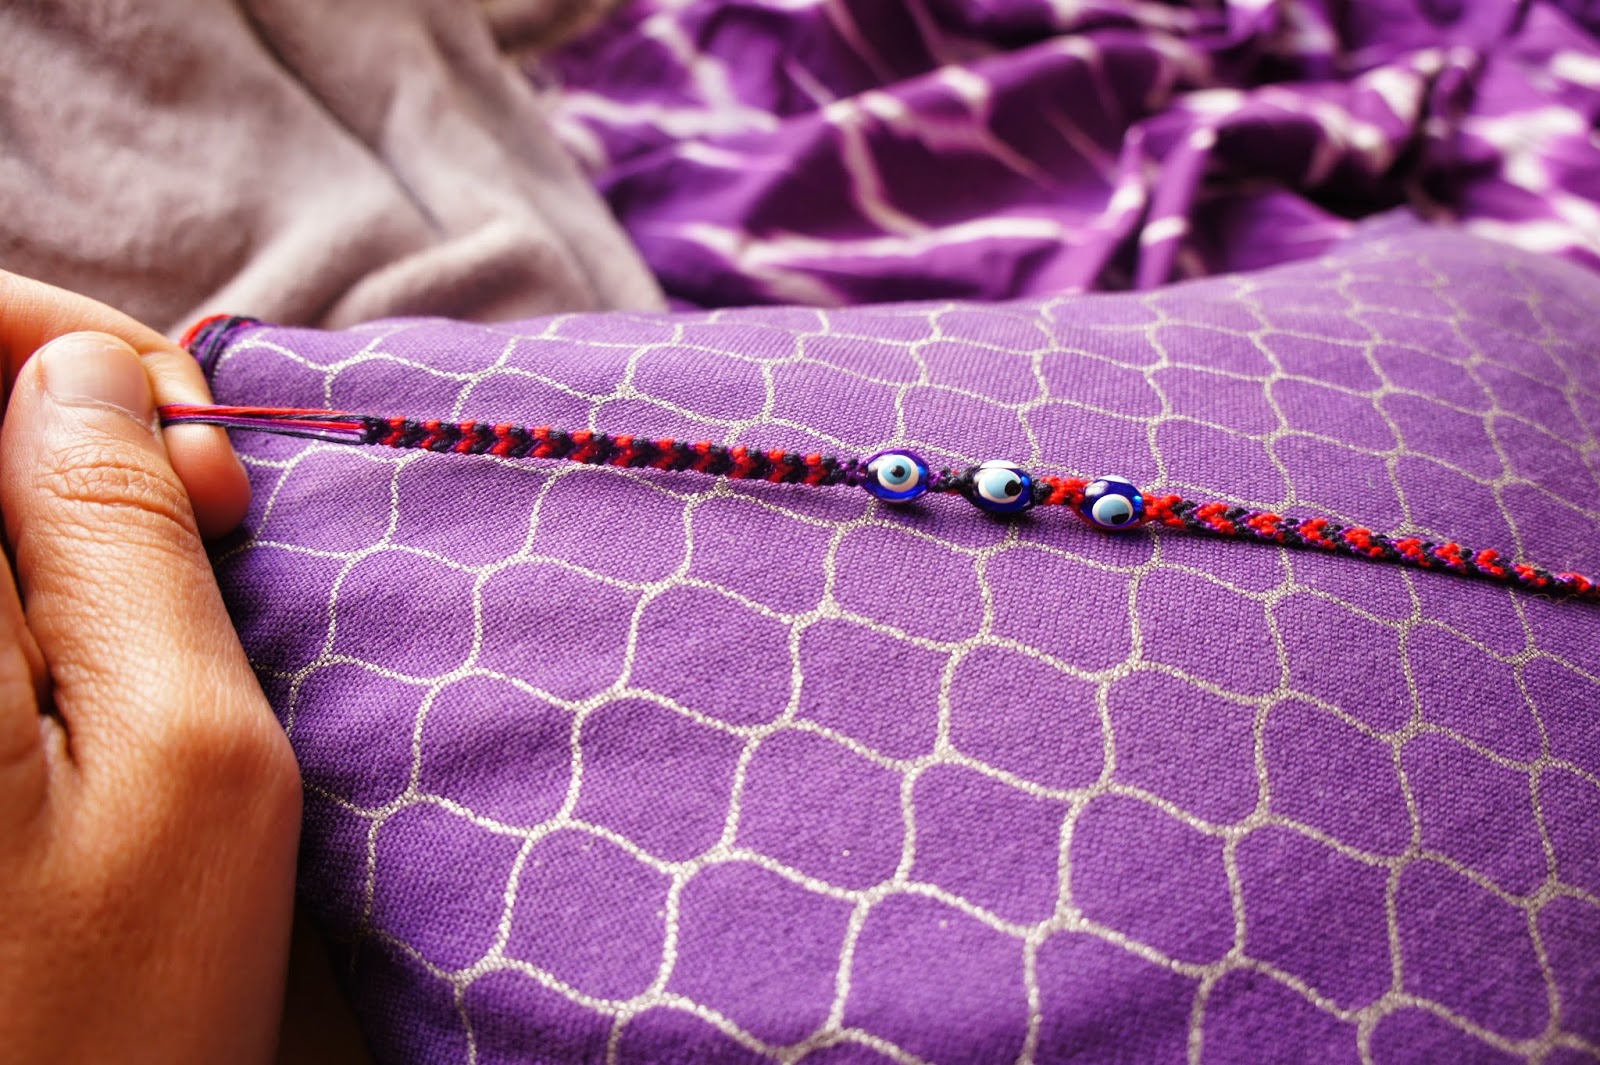
Cuando la tenemos hecha introducimos los hilos centrales por las cuentas ·"decorativas", dejando fuera los hilos exteriores.
After we got the X-shape, we will introduce the central threads into a bead and we will leave outside the external threads.

Y seguimos anudando el forma de flecha como antes, hacemos una fila y procedemos a hacer otra X con el siguiente color. En este ejemplo lo he hecho poniendo 3 cuentas, pero es evidente que se puede variar el diseño como uno quiera :)
After that, we shall start knotting as before. Then we will make another X with the next colour.
I didt it for three times. You can make it in your own way :)

4) Anudamos el otro tercio restante de la pulsera y una vez obtenido el largo deseado dividimos los hilos sobrantes en 2 grupos y trenzamos. Las 2 trenzas nos ayudaran a poder atar la pulsera a nuestra muñeca fácilmente.
We keep on knotting until the bracelet is finished. Once we have reached our desired lenght we will divide the threads into two groups and plait them separately. This will help to hold the bracelet to our wrist.

5) Ya puedes ponértela.
Now it´s ready to wear!!

No comments :
Post a Comment